
Difficulty & Accessibility Guide
Decision criteria for Story, Normal, and Hard without invented damage multipliers.
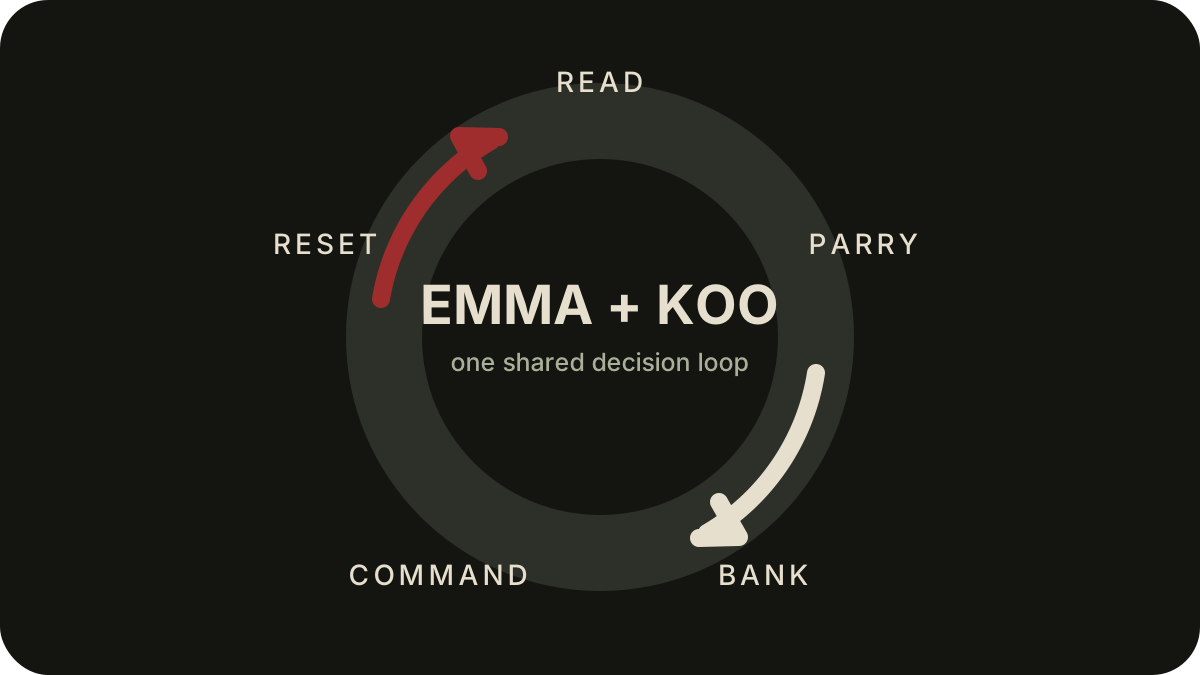
Table of contents
Choose by learning goal
Beast of Reincarnation offers three difficulty choices: Story, Normal, and Hard. Choose the mode that gives you the right amount of repetition for the skill you want to learn. This page does not attach unofficial damage, health, parry-window, or reward multipliers to those labels.
| Your goal | Starting choice | Reassess when… |
|---|---|---|
| Follow the story with lower action pressure | Story | Fights no longer teach you anything or you want more demand. |
| Learn the intended combat rhythm with room to adapt | Normal | You are repeating without understanding, or succeeding without using Koo. |
| Begin with the highest listed challenge | Hard | A fight prevents you from practicing the specific cue or command you are targeting. |
The right choice is the one that produces useful attempts. A harder mode is not automatically a better learning tool if you spend most of the attempt recovering from a mistake you cannot yet identify.
Story Mode has two confirmed qualitative assists: its parry timing is more forgiving and enemy attacks deal less damage. Normal is the standard baseline, while Hard is the highest listed challenge. The exact size of those changes is not published here, but the direction is useful when choosing what to practice.
A two-fight calibration
Use two ordinary encounters before you commit to a mode:
- In the first encounter, focus only on reading one attack and attempting a Just Guard.
- In the second, connect that Just Guard to a Koo command.
- Count useful attempts, not victories. A useful attempt teaches you what cue, timing, or decision failed.
- Change difficulty if pressure removes the chance to practice—or if it no longer requires the Emma/Koo loop.
This keeps difficulty tied to the game's central partnership rather than to a status label. Continue with the first-hours route after you can perform one complete loop.
Accessibility options confirmed at launch
The launch version includes these supported option families:
- Custom volume controls
- Separate difficulty selection
- Subtitle options
- Full controller support
- DualSense and DualShock controller support on PC
Gamepad is the recommended input. That is a recommendation, not a requirement that every player use a controller. In one version 1.0.6 PC environment, keyboard and controller bindings were adjustable while some interface behavior still felt controller-led. If remapping, prompts, or device switching causes trouble, use the isolation order in Controls & Input Troubleshooting.
What this page does not claim
Exact per-mode values for enemy damage, enemy health, resource gain, parry timing, checkpoints, or rewards are not complete. Precise claims in those areas require repeatable tests on the same game version. Until those tests exist, choose by outcome:
- Can you read the attack?
- Can you attempt the response more than once?
- Can you use Koo deliberately instead of forgetting the command layer?
- Can you explain why you lost the exchange?
If the answer is no because pressure is too high, lower the mode. If the answer is no because nothing requires attention, raise it.
Camera and subtitle limits
One version 1.0.6 PC environment had no field-of-view control or ultrawide support. A separate launch environment displayed speaker names in subtitles but no subtitle-size control. Treat these as bounded observations, not promises about every platform or future patch.
For camera friction, reduce competing variables first: stabilize performance, confirm your input device, and practice lock-on behavior in a low-pressure encounter. A camera problem can feel like a difficulty problem when frame pacing or device switching is the actual cause.
Recommended path
Start on Normal if you want the neutral baseline. Move to Story when repeated failures stop producing information. Move to Hard when you can already read, parry, command, and reposition reliably and want tighter pressure. Revisit the choice after your input, performance, or core build changes; those changes can alter the useful difficulty without changing the menu label.
Related guides
Beast of Reincarnation First Hours Guide
Learn the opening Emma-and-Koo loop, set a safe baseline, and avoid wasting early upgrades.
Read guideCombat, Parry & Koo Commands
Turn a successful Just Guard into Koo command pressure, then reset the fight on your terms.
Read guideControls & Input Troubleshooting
Separate controller detection, glyph, rebinding, mouse, menu, camera, and lock-on problems.
Read guide