
Skill Trees & Bloom Arts
A system map for progression choices while exact nodes and values remain unlisted.
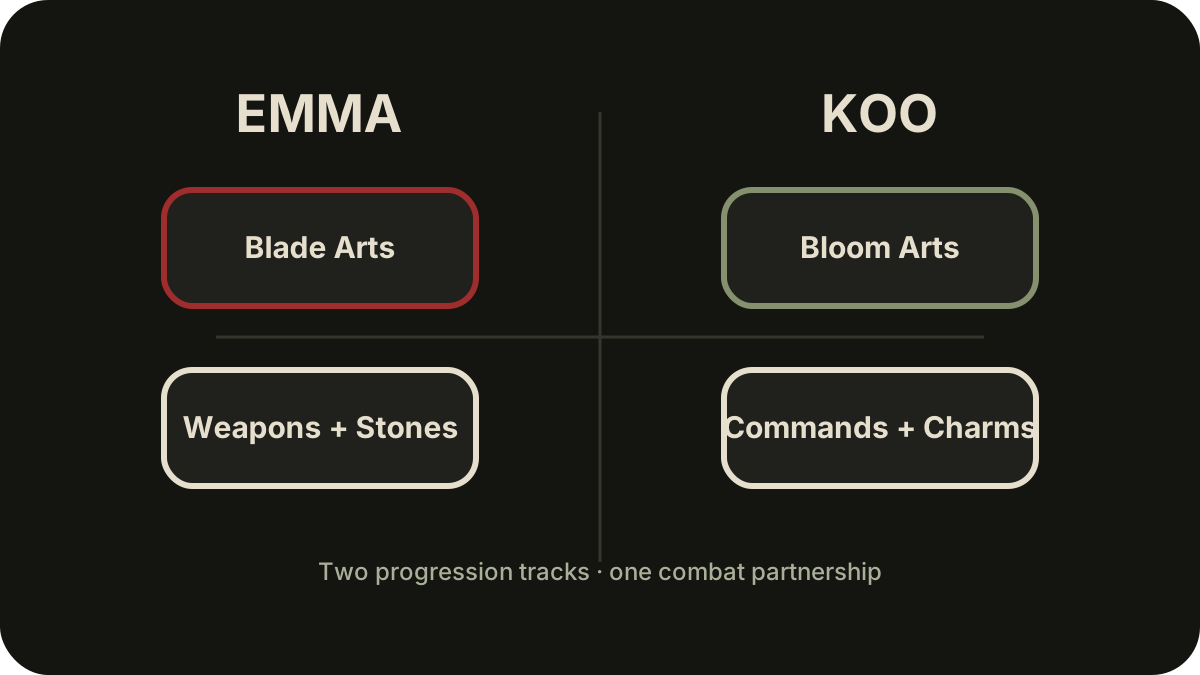
Table of contents
Two progression tracks, one partnership
Emma and Koo have distinct progression systems. Emma's side develops her sword actions through Blade Arts and Finishers. Koo's side develops Bloom Arts and command abilities. The game supports loadout directions oriented toward ranged, stealthy, and aggressive play.
Treat those as directions you can build toward—not as evidence that a particular node order is mathematically optimal.
Emma's side
Emma owns the immediate action layer: sword attacks, defensive timing, movement, and the techniques that shape her real-time response. The achievement list separates Emma's progression into several completion goals:
- Giant Tree Budburst: unlock all of Emma's skills.
- Blademaster: fully upgrade all of Emma's Blade Arts and Finishers.
- Blade Enthusiast: fully upgrade every blade.
- Munitions Master: fully upgrade every ranged weapon, arrow type, and bolt type.
Those conditions show that “all skills,” Blade Arts/Finishers, blades, and ranged munitions are distinct completion tracks. They do not expose each node's value, cost, or prerequisite.
Koo's side
Koo's command abilities are funded by points earned through Emma's successful Just Guards. Bloom Arts are Koo's named upgrade family, and two achievements define the completion boundary:
- Giant Tree in Bloom: unlock all of Koo's skills.
- Floral Profusion: fully upgrade all of Koo's Bloom Arts.
Koo also has a rapport track and a separate Koo Charm equipment family. A progression choice is useful only if you know when you will use the resulting command inside the parry-and-command loop.
Choose a node by the action it changes
Before spending, write a one-line hypothesis:
“This purchase should make my next successful parry lead to a safer or stronger command choice.”
Then test it in one repeatable encounter. If the effect helps only in a scenario you never create, it may not belong in your current path even if it is powerful in isolation.
Use this decision order:
- Identify the failing part of the loop: read, defense, resource, command, or recovery.
- Choose the character track that owns that failure.
- Read the in-game effect and prerequisite on your current version.
- Buy one meaningful change.
- Return to the same encounter and test the predicted action.
Why there is no full tree or calculator yet
A real skill-tree database needs every node name, exact effect, numeric value, cost, prerequisite, connection, and unlock condition from the same game version. A calculator also needs the formulas that combine those nodes with equipment and character attributes.
This site does not have that complete observation set. Publishing a branching graphic with guessed values would be visually impressive and mechanically useless. The current page therefore closes the relationship and completion goals while leaving exact nodes unpublished.
Plan the surrounding loadout
Skill choices do not exist alone. Emma's weapons and Spirit Stones, plus Koo's Charms, change the surrounding loadout. Use Weapons, Koo Charms & Spirit Stones to keep ownership straight. Use Nushi & Boss Index only to identify confirmed named encounters; it does not yet claim boss-specific optimal trees.
Related guides
Combat, Parry & Koo Commands
Turn a successful Just Guard into Koo command pressure, then reset the fight on your terms.
Read guideWeapons, Koo Charms & Spirit Stones
Distinguish Emma’s weapons and Spirit Stones from Koo Charms before comparing loadouts.
Read guideNushi & Boss Index
Identify confirmed named encounters while keeping story spoilers folded and unsupported tactics out.
Read guide